Level: Intro
Time: 20 min
Introduction
In this guide, we will go through the various tools available in the toolbar panel in Premiere Pro.
Selection Tool
Keyboard Shortcut: V

This allows you to select clips and edit points. This is an essential tool that will be useful in conjunction with the workflow of the other tools.
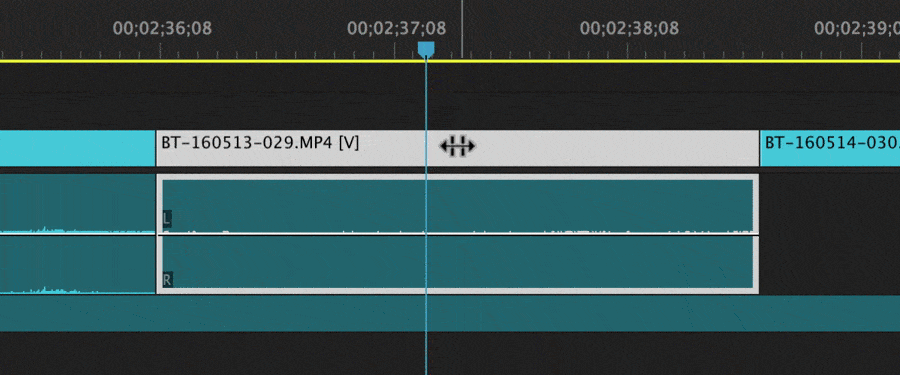
Razor
Keyboard Shortcut: C

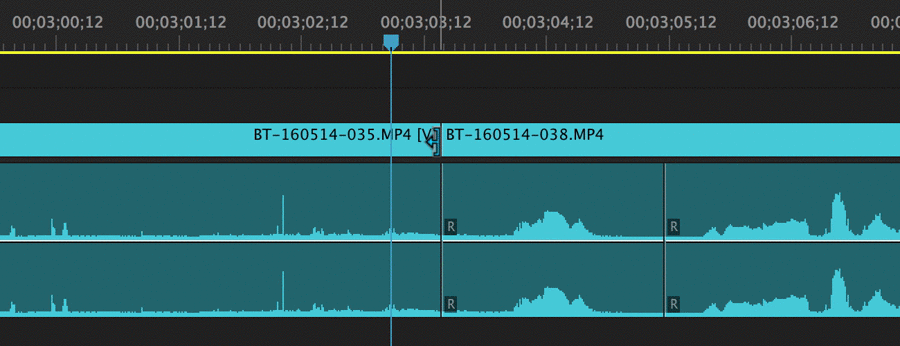
This allows you to make cuts in your clips within the timeline. With this tool equipped, simply click where you would like your cuts
Holding Shift while cutting allows you to cut across all tracks.
Track Select
Keyboard Shortcut
(Forward): A
(Backward): Shift + A

This allows you to select all the clips in a sequence, either in front of or behind where you click. This is helpful when you need to move a lot of clips quickly.
Holding Shift while clicking allows you to only select a single track.
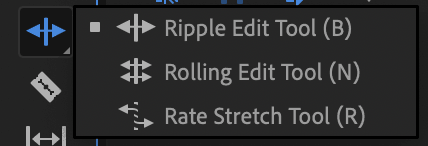
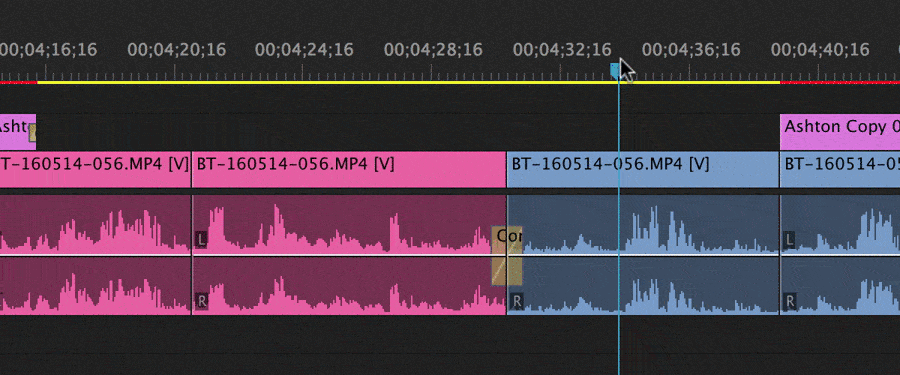
Ripple Edit
Keyboard Shortcut: B
The ripple edit tool is another way to trim clips. It allows you to trim the ends of clips and shift the surrounding clips in your sequence. This is beneficial when simply shortening, since there is no need to worry about small gaps.
This tool can be a bit more advanced but very useful when streamlining your editing workflow.
Ensure that when using the ripple edit tool, that you are aware of any locked tracks. This can easily unsync things.
Rolling Edit
Keyboard Shortcut: N
The rolling edit tool is another way to trim clips. This is more for small adjustments. With the rolling edit tool equipped, you drag an edit point to move the outpoint of the left clip and the inpoint of the right clip.
Rate Stretch
Keyboard Shortcut: R
The rate stretch tool affects the speed and duration of a clip. This tool does not change the in and outpoints. By dragging the end of a clip backwards, the clip will speed up; Dragging it forward will slow the clip.
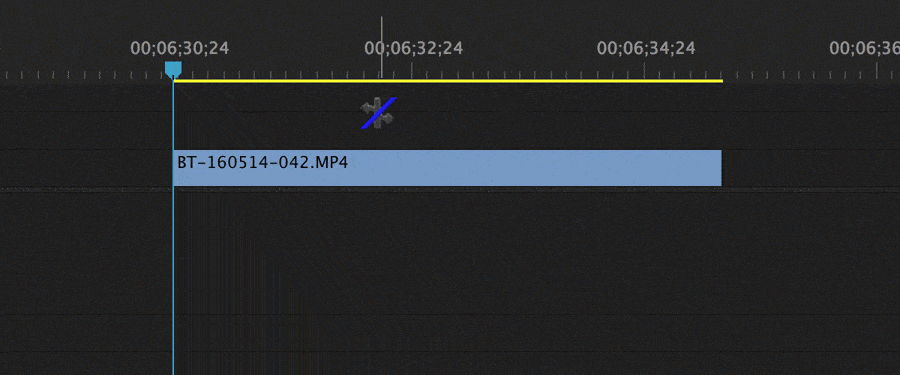
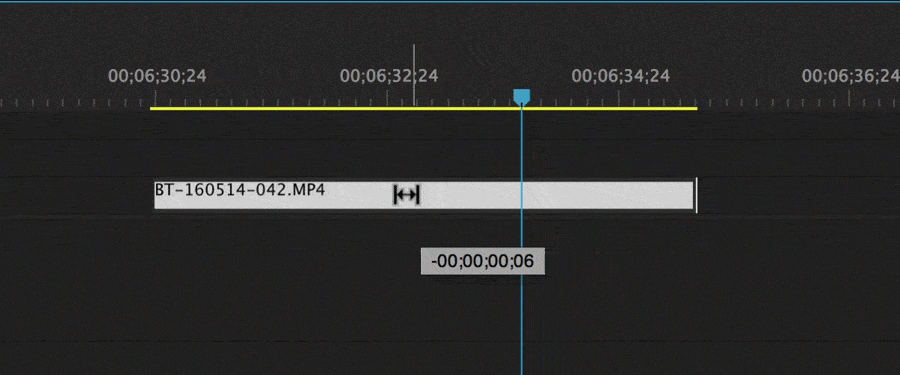
Slip Tool
Keyboard Shortcut: Y
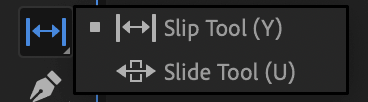
The Slip tool allows you to change the in and outpoint of your clip without changing it’s duration(clip length) or position on the timeline.
The source monitor will display a preview in real time, displaying on the left the before video and on the right, the after video.
Slide Tool
Keyboard Shortcut: U
The Slide tool allows you slide a clip in a sequence, maintaining the same in and outpoint. When dragging over another clip, it will replace that overlapped section. This tool is also handy because it automatically closed gaps.
The source monitor will display a preview in real time, displaying on the left the before video and on the right, the after video.

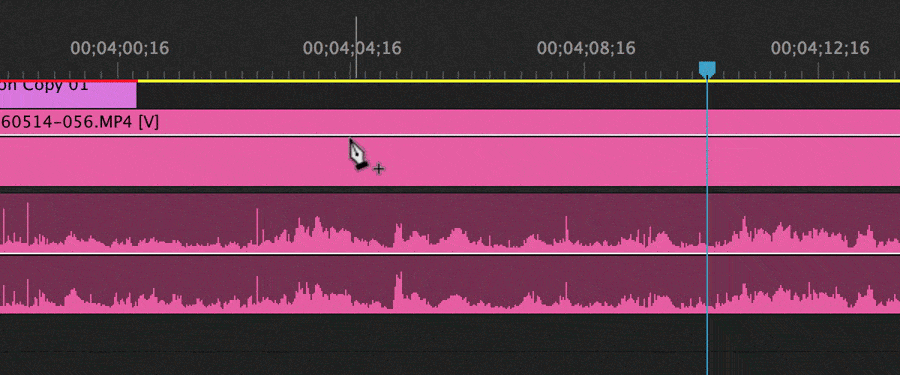
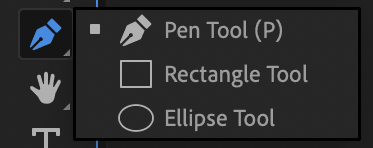
Pen Tool
Keyboard Shortcut: P
The pen tool allows you to add keyframes to a clip from the timeline.
This is most useful when adjusting background music audio. Using the pen tool, you can easily adjust where the audio fades lower during voiceover sections.
Hold ALT to create a curve between keyframes.