Introduction
This software guide provides a concise overview of the process to create a WiFi extender using a Raspberry Pi. A WiFi extender, also known as a wireless repeater, enhances the range and coverage of a wireless network. By following this guide, you can transform your Raspberry Pi into a cost-effective WiFi extender to improve network connectivity. This is highly recommended if one has a spotty network.
Background
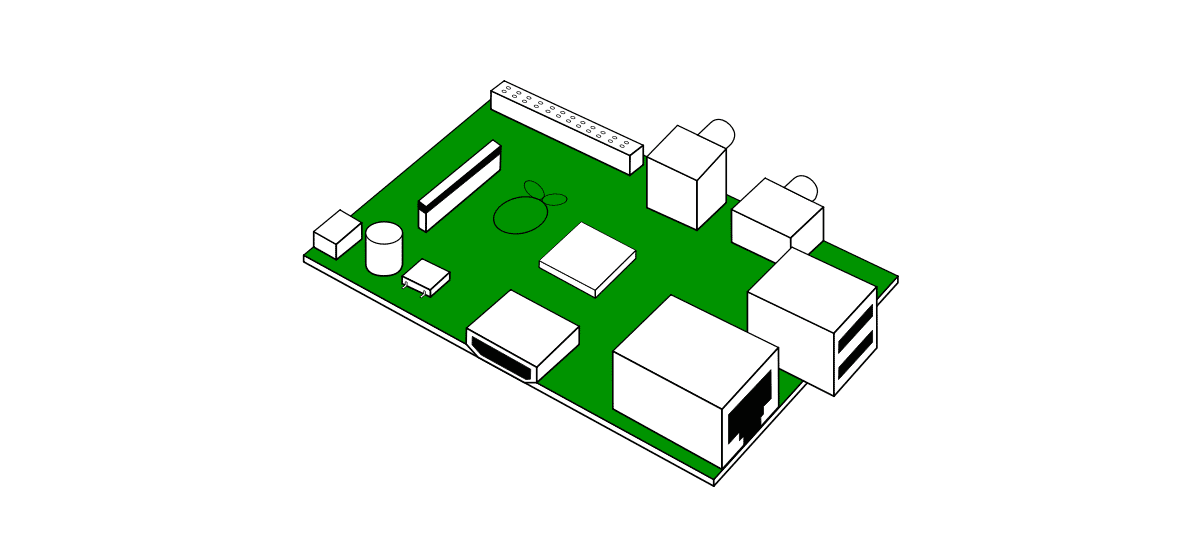
The Raspberry Pi is a small, single-board computer that can run various operating systems, including Linux-based distributions like Raspbian. It has built-in WiFi capabilities and can be configured as a wireless access point to extend the range of an existing network.
At the Labs, we can provide access to various different types of Raspberry Pis. From Pis that allow users to create music using MIDIs, to Pis that extend a wireless network, these tiny computers can be used in a variety of ways.
Process
As the Raspberry Pi involves programming and other technical skills, it is highly recommended to come into the Labs to have an ETC guide you through these steps. However, this procedure is able to be done at home.
To create the WiFi extender, you must first:
- Obtain a Raspberry Pi board (preferably the latest model) and a compatible power supply.
- Install a Linux-based operating system on the Raspberry Pi, such as Raspbian.
- Connect the Raspberry Pi to your network using an Ethernet cable.
After basic set-up is complete, the Pi needs to be configured into an Access Point (AP):
- Install the necessary software packages for creating an access point, such as hostapd and dnsmasq. This can be done using the terminal, which is a Linux-based environment. Commands such as
sudo apt updateandsudo apt-get installwill be used. - Configure the wireless interface on the Raspberry Pi as an access point. This involves configuring a static IP address by editing some configuration files.
These steps allow the Pi to give IP addresses to devices that connect to it, but the home network still needs to be passed through the Pi. This can be fixed by:
Enabling IP forwarding on the Raspberry Pi to allow network traffic to pass between the access point and the primary WiFi network. This includes adding the following lines to the hostapd.conf file:
interface=wlan0

driver=nl80211

ssid=YourAccessPointName

hw_mode=g

channel=7

wmm_enabled=0

macaddr_acl=0

auth_algs=1

ignore_broadcast_ssid=0

wpa=2

wpa_passphrase=YourPassphrase

wpa_key_mgmt=WPA-PSK

wpa_pairwise=TKIP

rsn_pairwise=CCMP
Enabling Network Address Translation (NAT) on the Pi. This can be done by entering the following command into the terminal:
sudo iptables -t nat -A POSTROUTING -o eth0 -j MASQUERADE
sudo sh -c "iptables-save > /etc/iptables.ipv4.nat"
That’s it! After all these steps, all you need to do is connect to the primary WiFi network, and the Raspberry Pi will begin to repeat that signal! Again, this is a very technical procedure, and it will take time to do, but do not give up!
Brand information
Various brands offer Raspberry Pi boards and accessories, including the Raspberry Pi Foundation, CanaKit, Vilros, and Adafruit. Each brand may provide different features and bundle options for Raspberry Pi products. Ensure that you choose a reputable brand and consider your specific requirements when selecting a Raspberry Pi board.
Uses in education
As Raspberry Pis are fairly low cost computers, the educational field can benefit from investing in Pis. There are thousands of different ways a Raspberry Pi can be configured to perform different tasks that show different computer science topics. At the Labs, we have plenty of Raspberry Pis that we encourage you to use and tinker with. For some broad examples of how Raspberry Pis can be used, here are some ideas:
Programming and Computer Science Education:
Raspberry Pi serves as a practical tool for teaching programming languages like Python, Scratch, and Java. It allows students to learn coding concepts by working on real-world projects and interacting with hardware components.
Electronics and Physical Computing:
Raspberry Pi’s GPIO (General-Purpose Input/Output) pins enable students to connect sensors, actuators, and other electronic components to build interactive projects. This hands-on approach helps learners understand the principles of electronics and physical computing.
Robotics:
Raspberry Pi can be the brain of robotic systems, enabling students to design and program their own robots. This interdisciplinary field combines aspects of computer science, engineering, and mathematics, fostering creativity and problem-solving skills.
Internet of Things (IoT):
Raspberry Pi’s connectivity options and low-power consumption make it suitable for IoT projects. Students can create IoT devices to collect and analyze data, automate processes, and build smart home systems, providing a practical understanding of IoT technologies.
Networking and Cybersecurity:
Raspberry Pi can be configured as network routers, firewalls, or penetration testing devices. This allows students to gain hands-on experience with networking concepts, network security, and ethical hacking in a controlled environment.
References
- Raspberry Pi Foundation. (n.d.). Official Website. Retrieved from https://www.raspberrypi.org/
- Raspbian. (n.d.). Official Website. Retrieved from https://www.raspbian.org/
- Hostapd Documentation. (n.d.). Retrieved from https://w1.fi/hostapd/
- dnsmasq. (n.d.). Retrieved from https://thekelleys.org.uk/dnsmasq/doc.html